|
|
2 years ago | |
|---|---|---|
| archive | 2 years ago | |
| ReadMe.md | 2 years ago | |
| USB-A-Male-Connector-Dimensions.png | 3 years ago | |
| bios.jpg | 2 years ago | |
| bithroom.jpg | 3 years ago | |
| dell_bios.jpg | 3 years ago | |
| drive.jpg | 3 years ago | |
| dualrank.jpg | 2 years ago | |
| model.jpg | 3 years ago | |
| screws.jpg | 3 years ago | |
| singlerank.jpg | 2 years ago | |
| size.jpeg | 3 years ago | |
| ssd-screw.blend | 3 years ago | |
| ssd-screw6.stl | 3 years ago | |
| ssd_screw.jpg | 3 years ago | |
ReadMe.md
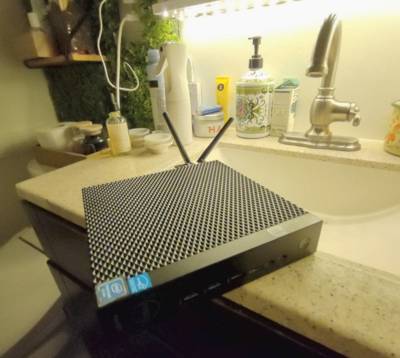
Dell Wyse 5070 Thin Client
Hello
This particular model of computer is really good as a low-power desktop computer or as a server. (Raspberry Pi killer)
Why? Because it's cheap, abundantly avaliable (at least right now in 2023) and with a few cheap upgrades, it doesn't really have any drawbacks and it's quite capable.
Reasons why it's good
- Cheap. $35 on Ebay
- Passmark score (CPU benchmark score) of ~3000
- Quad Core btw
- 1/2 the score my laptop gets, and 3 to 4 times the score that a Raspberry Pi 4 gets
- Upgrade-able to 32GB of RAM
- Supports hardware accelerated virtualization (kvm). This means you can run linux virtual machines at full speed like a "cloud" server.
- Fanless
- Very low power at idle (2 watts measured at the wall with a Kill-a-Watt device)
- Note, when I upgraded the RAM, this power usage increased a lot -- up to 6 watts.
- That's probably just a fact of life -- RAM uses power while its turned on. You get 5x the RAM capacity for 3x the power consumption.
- Not a bad deal if you actually need the RAM, IMO.
- 6 watts is still VERY low power. Especially if you are plugged into the wall.
- After upgrading it to have WiFi, 20GB of RAM, 512GB SSD and HDMI video output support, it's still under $100 per device.
- You can have 2 of them, for redundancy and failover, for only $200
Problems that it has (and how I solved them)
- Typically only comes with 4GB of RAM or 8GB if you are lucky
- Purchase cheap laptop ram upgrade from NewEgg
- See the RAM compatibility section below!
- This means you get 20GB total RAM for only ~$30 per upgrade.
- Purchase cheap laptop ram upgrade from NewEgg
- It only has DisplayPort for video output 😫
- solved with $2 DisplayPort to HDMI dongle
- It does not come with Wifi Antennas
- solved with $2 Wifi Antennas from Ebay
- It does not come with a hard drive / operating system
- Purchase a cheap M.2 2280 SATA SSD from NewEgg
- Just install Debian or Ubuntu on it 🙂
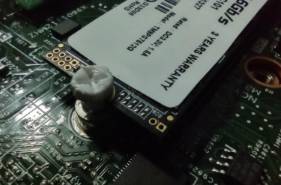
- It does not come with a screw to hold the M.2 SSD in place
- I was not able to find these screws online so I ended up 3D printing my own plastic ones 😛
- Laugh all you want; this actually works great
RAM Compatibility
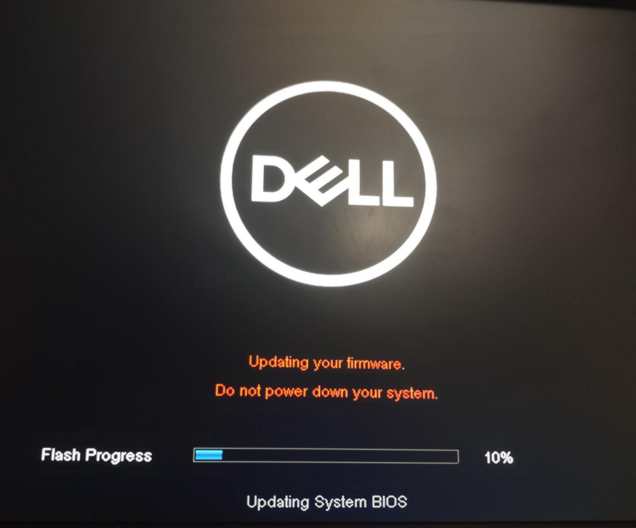
MAKE SURE YOU UPDATE THE BIOS TO THE LATEST VERSION BEFORE UPGRADING THE RAM!!!
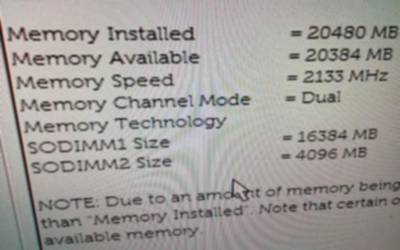
I had 10 of these and I bought RAM for them in two different batches from the same NewEgg listing:
for what its worth, this RAM also eventually worked: $66 G.SKILL F4-3200C22D-32GRS
The first batch of RAM that came in was what they call "Dual-Rank", or "Low Density" (they have two rows of chips on the PCB),
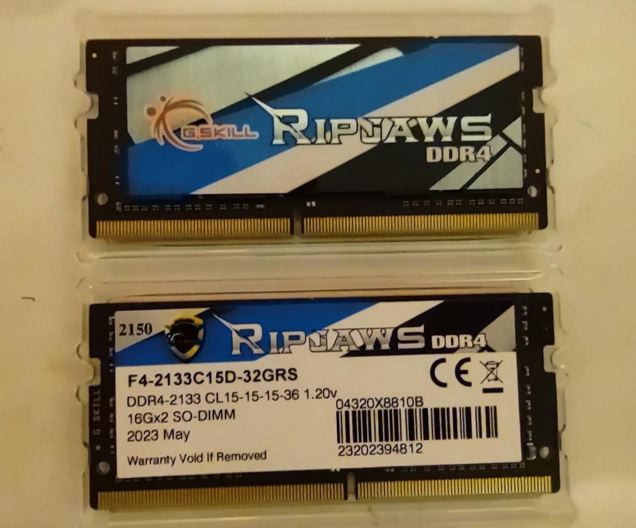
and the second set of ram sticks that I ordered were delivered as "Single-Rank", or "High Density" (Single row of chips on the PCB):
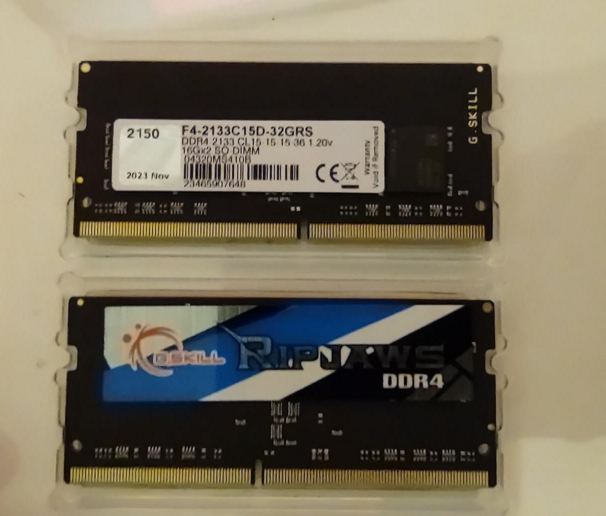
The Dual Rank RAM worked in all of the units I had, but the Single Rank RAM only worked in some of them -- I later discovered that
this is because some of them had a very old BIOS version.
How to Update the BIOS
parkytowers has a great guide on this: https://www.parkytowers.me.uk/thin/wyse/5070/firmware.shtml
- Download the latest BIOS file from Dell. It will be an
exefile named likeWyse_5070_1.27.0.exe - Copy that file to a FAT32 FORMATTED USB thumb drive or other usb storage device.
- Plug the USB thumb drive into the Wyse
- Reboot the Wyse, and hold down
F12to get into the boot menu:
 Boot mode is set to: UEFI; Secure Boot: OFF; PTT is ON;

 UEFI BOOT:
    *PenDrive
    *FreeDOS
 OTHER OPTIONS:
     BIOS Setup
    *BIOS Flash Update
     Diagnostics
- Select 'BIOS Flash Update' under 'OTHER OPTIONS'.
- It should present you with a list of files on the USB flash drive.
- Navigate to and select the BIOS exe file.
- Click on 'Begin Flash Update'
I also got this note from someone I gave some of these computers to:
hey forest! hope you been good <3

just wanted to give you a heads up in case you've encountered it -- these dell wyse 5070 servers need some bios upgrades and fwupd can do them, however there's a thing where a display (or a device that emulates a display to the machine) has to be connected in order for the upgrade to actually install. fwupd has already merged a change allowing updates to flag themselves as "display required", but just figured i'd give you a heads up in case you've not encountered this yet so you didn't have to dig. bug report: https://github.com/fwupd/fwupd/issues/6187
these 5070s are awesome, thanks again
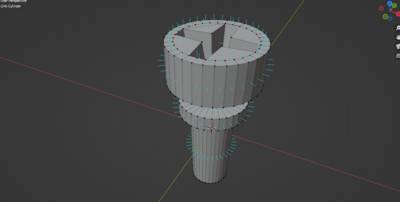
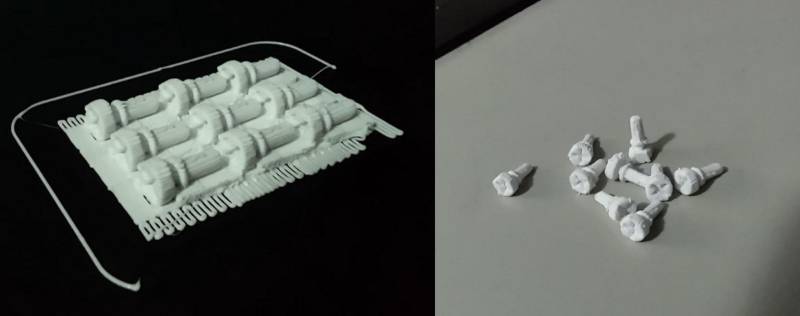
How to 3D Print the SSD Screw
I dont know what I did wrong but for some reason I was never able to get the size of the SSD screw correct in Blender so that it would be the right size when I export it to STL and slice it with the Prusa Slicer.
Instead I just adjusted the size in the prusa slicer.
So just make sure that each screw is about 9.8mm long in the prusa slicer software before you print it. Depending on your printer and print settings you might have to adjust the size. Good luck and be patient.
NOTE
I found that these screws I printed were just a bit too short -- they would cause the SSD to bend down a bit which is probably less than ideal. I'm pretty sure it's fine but if I was doing this again I would make the "thread" part of the screw about 30% longer.
For best results select Automatically Generate Supports: Yes and Supports only on build plate: Yes
You will have to clip the supports off with something like wire cutters, x-acto knife, or scissors.
Troubleshooting information
- Help! How to enter the BIOS / Help! The BIOS is locked!
- Help! It's not POST-ing and the power LED is blinking orange!